Although it may appear difficult, connecting a Canon printer to your network is actually quite simple if your router has a WPS (Wi-Fi Protected Setup) button. The WPS technique makes things easier by doing away with the necessity for manual network password entry. To ensure a flawless printing experience, go through the progression of connect canon printer using wps button in this blog.
Items You’ll Require
- Verify that your Canon printer is operational and turned on.
- WPS-capable wireless router Make sure your router has a WPS button.
- Computer or Mobile Device, For any possible further configuration.
- A network security standard called Robust WiFi Protected Setup, or WPS, attempts to simplify the process of connecting devices to secure wireless networks. When you utilize WPS, you may rapidly connect your Canon printer to your home network without having to manually enter your Wi-Fi password.
Comprehensive Guide to connect canon printer using wps button
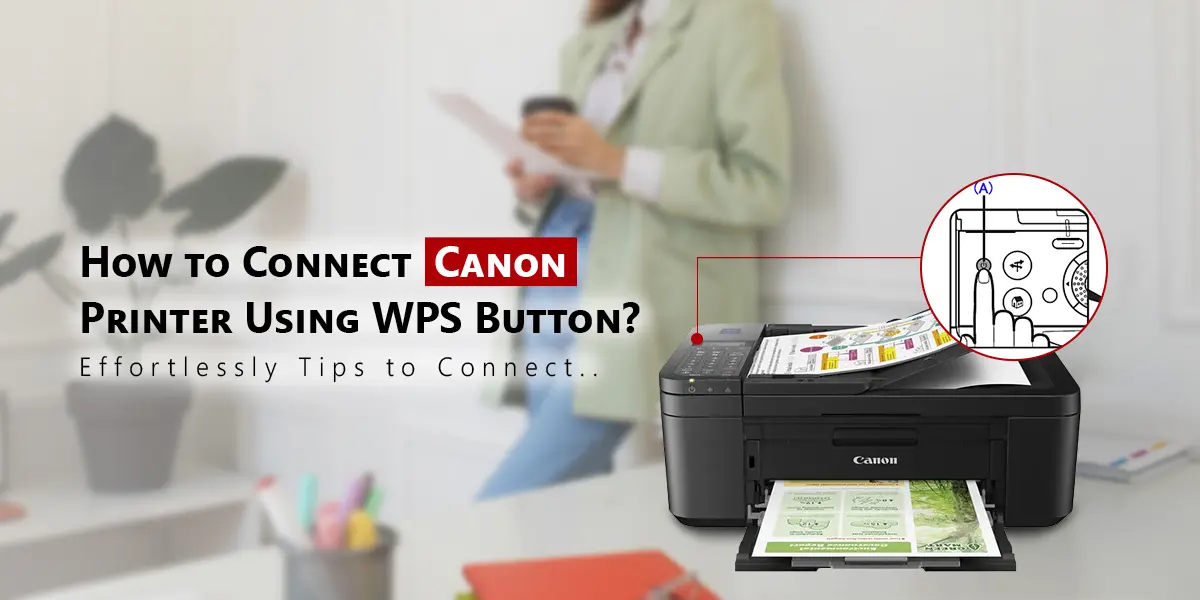
Step 1: Get Your Printer Ready
- Turn on Your Printer: Validate that your Canon printer is on and effective. Use the display screen to access the Wi-Fi setup settings if your printer has one.
- Reach setup menu: On most Canon printers, utilize the control panel to reach the Wireless Setup menu. Look for a button marked “Setup,” “Menu,” or an icon that resembles a gear.
Step 2: Find WPS Switch
- Find the WPS Knob: On your wifi router, look for the WPS switch. It may feature a sign that resembles two arrows creating a circle in addition to the standard “WPS” label. It is frequently found on the router’s side or rear.
- Check the WPS Status: When WPS is engaged, certain routers include an indicator light. Make sure your router has WPS pairing enabled.
Step 3: Launch the WPS Process for Your Printer
- Activate WPS mode: Navigate to the wireless setup or WPS area of the control panel to activate WPS mode on your Canon printer. Select “WPS” or “Wi-Fi Protected Setup” to begin the connecting procedure.
- Choose the WPS Protocol: Your printer may offer you to choose between “Push Button” and “PIN”. Since you plan to use your router’s WPS switch, select “Push Switch.”
Step 4: Activate the WPS function on your router.
- Press the WPS switch: After two minutes, select the WPS option on your printer by pressing the WPS switch on the router.The WPS pairing procedure will begin as a result.
- Await Connection: Your printer will look for the router and make an effort to establish a connection. The printer will indicate that it is connecting with a message displayed on its display. Hold off till the procedure is over.
Step 5: Verify the Link
- Examine the Printer’s Display: If the connection to your network has been established successfully, the printer ought to show an icon or a confirmation message.
- Print a Network Configuration Page: The setup menu on a lot of Canon printers enables you to print a network configuration page. You can verify on this page if your printer is allied to the apt network.
Step 6: Install printer software and drivers.
- Download and Install Drivers: Download and install the required software and drivers from Canon’s official website ‘https ij start canon’ to make sure your printer is compatible with your computer or mobile device.
- Sync a Printer with Your Device: Steer to the printer settings on your device, then select your Canon printer. If the connection was successful, it should show up as a network printer when connected.
Troubleshooting Advice to connect canon printer using wps button
If you have issues during configuration, consider the following suggestions:
- Verify that WPS is turned on: Verify that WPS is enabled on your router. Certain routers have a designated WPS mode or setting.
- Check Printer and Router Distance: Ensure that your printer can receive the Wi-Fi signal from your router. Move the printer closer to the router if necessary.
- Device Restarts: Restart your printer and router to reestablish their network connections.
- Refer to the Instruction Manual: The user manual that comes with your Canon printer has comprehensive instructions specific to your model.
End thoughts
One quick and easy way to get your Canon printer connected to your network is to connect canon printer using wps button. You can enjoy wireless printing without the inconvenience of manually inputting network passwords by following the above-described methods.