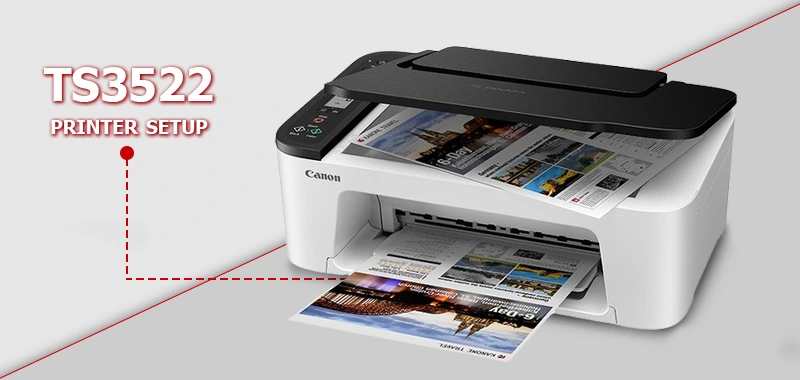
ij start canon ts3522 setup
The setup process for the ij start canon ts3522 setup involves several straightforward steps to ensure a smooth and efficient installation. Begin by unboxing the printer and removing all protective materials. Connect the power cord and power on the printer to initiate the setup process.
ij.start.canon TS3522 printer setup: how to do it?
- Get the modernized version of your printer drivers
- First, confirm that there is an active connection between the printer and the port.
- Look for the Canon TS3522 printer driver installation CD.
- Put the driver installation CD into the CD drive.
Unboxing the Canon TS3522 printer
- Place your new printer on a level surface after picking it up.
- For information on connecting suitable systems and printers, consult Canon’s documentation.
- Swap an ink cartridge is taking off the orange protective cover.
- Enter the Printer Setup Utility only after the premium paper has been fully inserted into the input tray.
- Next, fill the tray with the necessary paper and make adjustments.
- To finish the setting, confirm that the right network and its specifications are being used.
- Download the most recent driver software for the Canon Pixma TS3522.
Note: To finish the ij.start setup, keep on according to the instructions displayed on the screen.canon Configuration.
Wireless Canon Pixma TS3522 Connection
For Windows 11
- Visit the official website.
- download and install the driver.
- Choose Next > Wireless Connection after using the specific.exe file to locate the programme in the Windows folder.
- There’s a chance to connect using a Wi-Fi router.
- Additionally, fill in the relevant areas with the necessary network credentials.
- Activate the network options to finish the wireless configuration.
For Mac
- After starting up your Mac, tap the Apple symbol.
- Next, choose System Preferences from the menu on the left.
- Click the symbol for Printers & Scanners. Click on the + sign.
- Next, choose the IP icon and input the necessary data using the newly visible window.
- Additionally, try launching the wireless setup and adding the printer with the right network credentials.
- Lastly, confirm that your network is stable by using the network configuration test page.
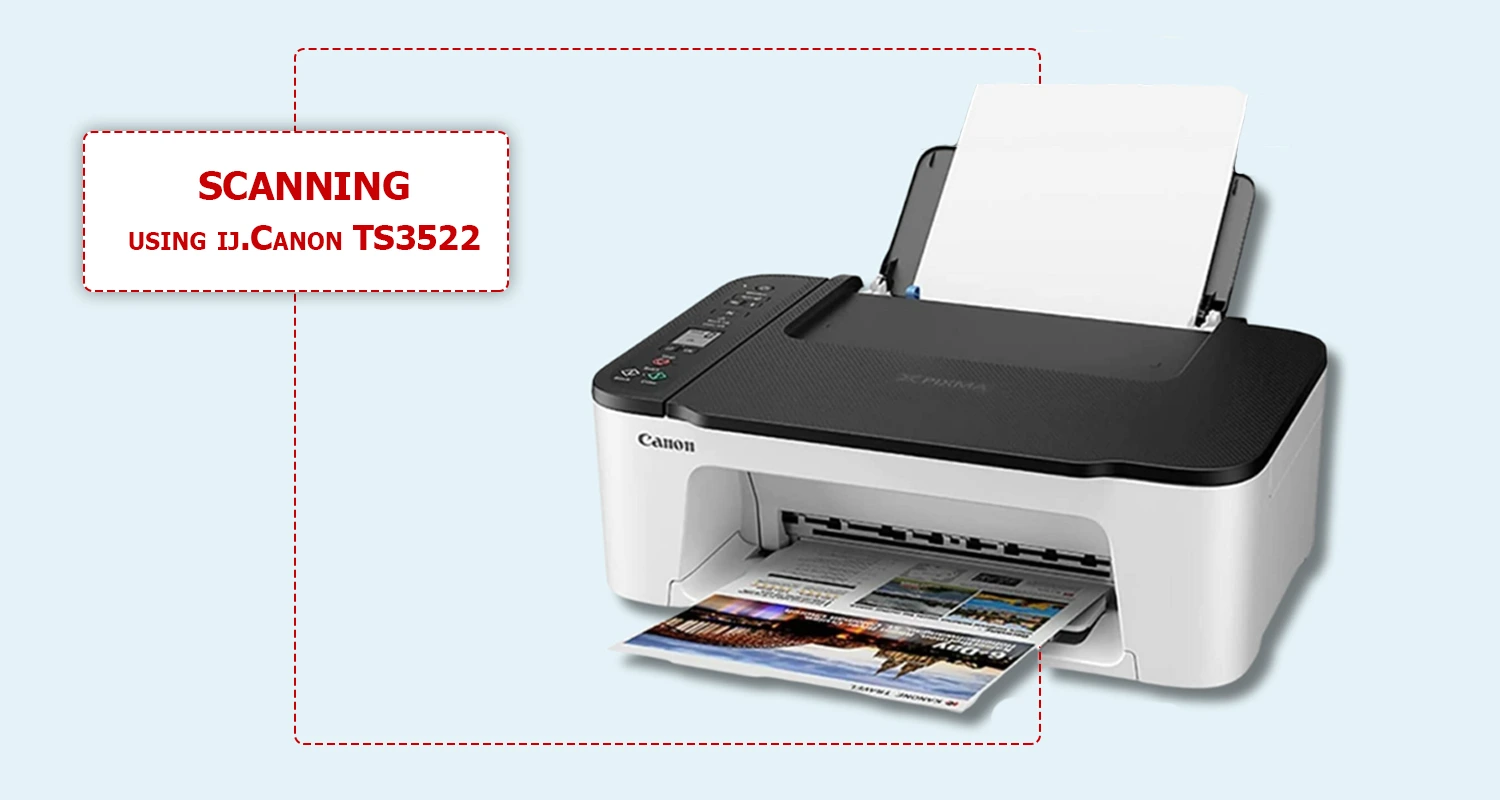
How to begin scanning using ij.Canon TS3522?
- Visit Canon’s official support page first.
- To view a list of printer names, type a specific printer key into the search field.
- After downloading the Canon IJ Scan Utility, follow the setup instructions.
- To choose the necessary device (highlighted in red), use the screen below.
Note: After that, you ought to look for the MP driver and download it.
In what way is the setup of ij.start.canon TS3522 done?
- Once your new printer has been unpacked, raise it up and set it down on a level surface.
- An active network connection is used to give support, and the print heads and ink cartridges must be inserted into the correct slots.
- To configure it, open the URL bar on your PC or laptop browser.
- To choose the preferred operating system, such as Windows or Mac, enter the correct printer key. Select the corresponding Canon Drivers tab and click the Download button.
- Proceed with the installation.
- USB and wifi connectivity are available for selection.
- Finish the Canon Pixma TS3522 process.
TS3522 Cloud Link setup for ij.start.canon printer
- The printer must first be added to Canon Cloud Printing Centre.
- Next, launch a new print job using the printer.
- Verify the reported URL and enter your login credentials.
- A brief confirmation email should arrive at your email discovery soon.
- To add the printer, use the given URL. Your email inbox will recognise this URL.
- IJ Cloud Printing Centre settings > Settings > Web services settings > Web service connection settings > The HOME menu on the printer is where you can register for this service.
IJ Start Canon TS3522 setup Troubleshooting
- Be certain that you choose the download option for the driver’s most recent OS version.
- After choosing your print choice, install the Canon driver completely. Use the provided procedures if the issue reappears.
- Make an effort to label anything about Canon printers.
- Using the proper settings, try uninstalling the device’s driver software.
- Make use of Canon printer functions like Next > OK.
- Retry it at the conclusion.